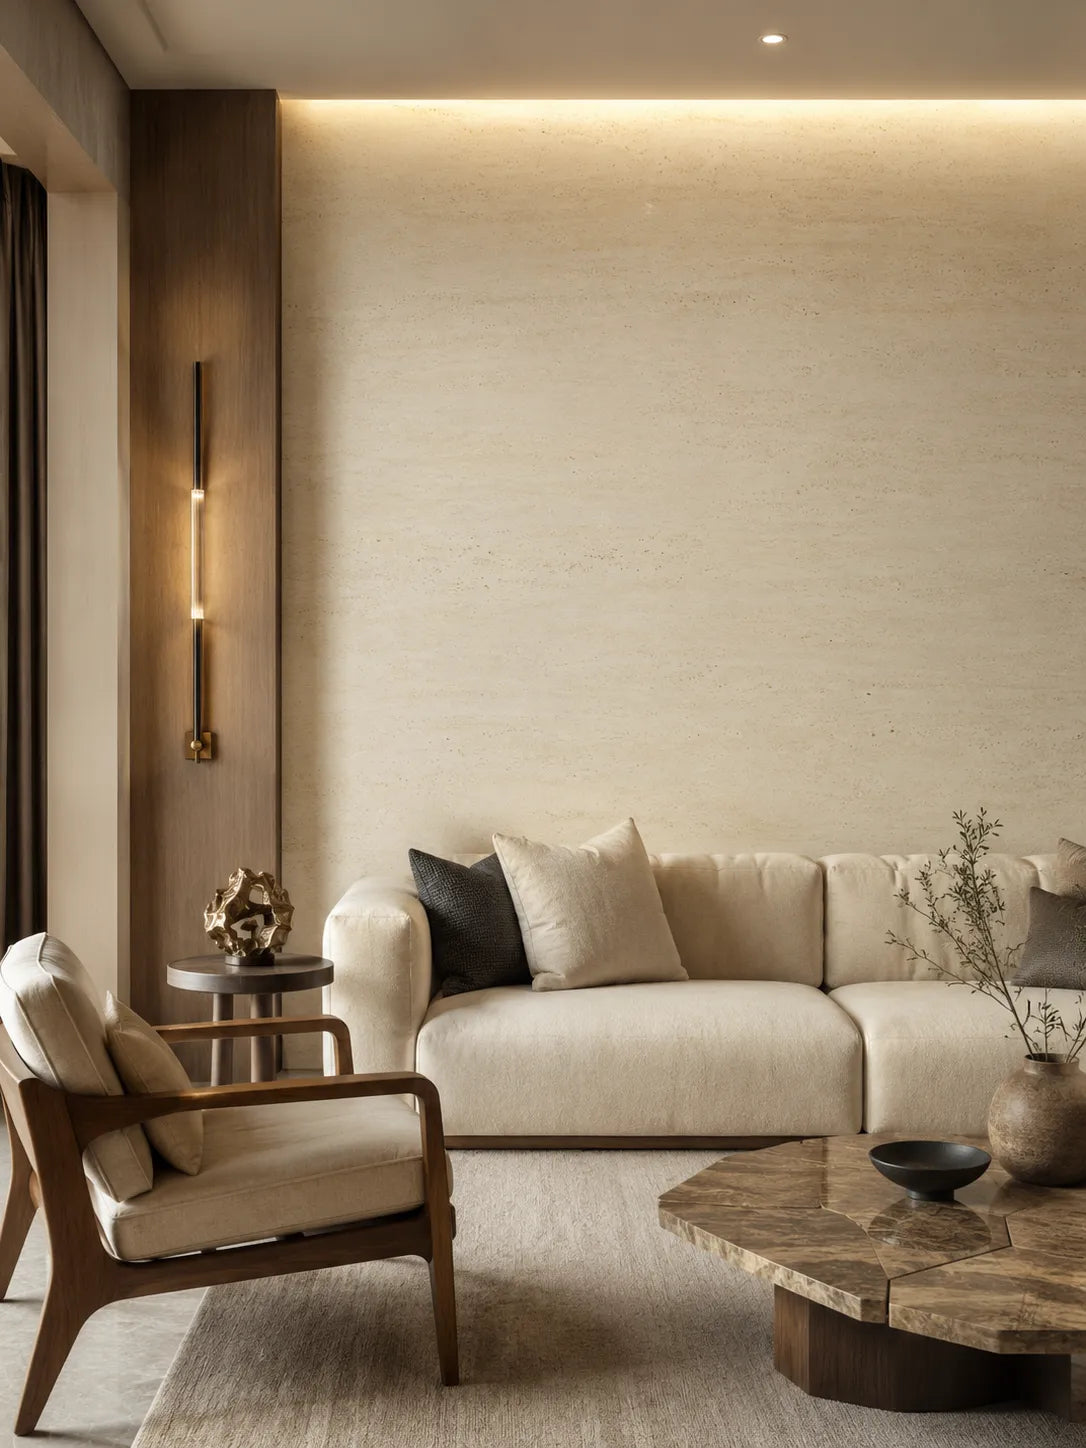
Joints, Seams & Corner Finishing
Complete your project with joints, outside corners, and inside corners.
Tight-Joint Installation
Position adjacent panels tightly together and align the texture as closely as possible to minimize visible joints.
- Interior feature walls
- TV walls
- Fireplace walls
- Commercial decorative walls
- Most interior projects
- Fewer visible joints
- More continuous stone texture
- Simpler installation
- Natural finished appearance

Color-Matched Grout or Sealant
Use this method when joints need to be refined, concealed, or intentionally emphasized.
- Select a material that coordinates with the panel color.
- Use a flexible product suitable for the installation environment.
- Avoid rigid materials that may restrict the flexibility of the panels.

Decorative Joint Trim
Decorative joint trim may be used in commercial spaces, modern design projects, or installations that require clearly defined separation lines.
- Emphasize the panel layout
- Create a linear design feature
- Transition between different wall areas
Tight-joint installation is recommended for most projects.

Outside Corner Installation
Choose an outside corner method based on the desired appearance and jobsite conditions.
Method 1 Overlapping Corner
One panel overlaps and covers the exposed edge of the adjoining panel.
- Simple installation
- Natural outside corner detail
- Suitable for residential and commercial projects

Method 2 Butt-Joint Corner
The two panels meet directly at the outside corner.
- Clean, minimal lines
- Suitable for modern designs
- Requires accurate measuring, cutting, and alignment
A color-matched flexible sealant may be used to refine the joint when necessary.

Method 3 Butt Joint With Color-Matched Sealant
The two panels meet directly at the corner, and the joint is finished with color-matched flexible sealant.
- Large wall installations
- Commercial projects
- Projects requiring consistent joint details

Method 4 45-Degree Mitered Corner
Cut and finish the edges of both panels at approximately 45 degrees, then join them together at the corner.
- High-end residential projects
- Commercial and design projects
- Installations requiring a more refined corner detail
This method requires precise measuring, cutting, sanding, and alignment.

Inside Corner Installation
Choose an inside corner method based on the desired appearance and jobsite conditions.
Method 1 Tight-Fit Inside Corner
Install the first panel fully into the inside corner, then install the adjoining panel against it to create a tight joint.
- Most residential projects
- Standard interior feature walls
- Projects requiring faster installation
- Minimize visible gaps
- Keep the joint width consistent from top to bottom
- Use a color-matched flexible sealant when needed

Method 2 45-Degree Mitered Inside Corner
Cut and finish the edges of both panels at approximately 45 degrees, then join them together to form a clean inside corner.
- High-end residential projects
- Commercial and design projects
- Installations requiring a more refined inside corner detail
This method requires straight and plumb walls, accurate cutting, and careful alignment.

NEED INSTALLATION HELP?
Every project is unique. Our team is here to help you choose the right products and installation method for your project.